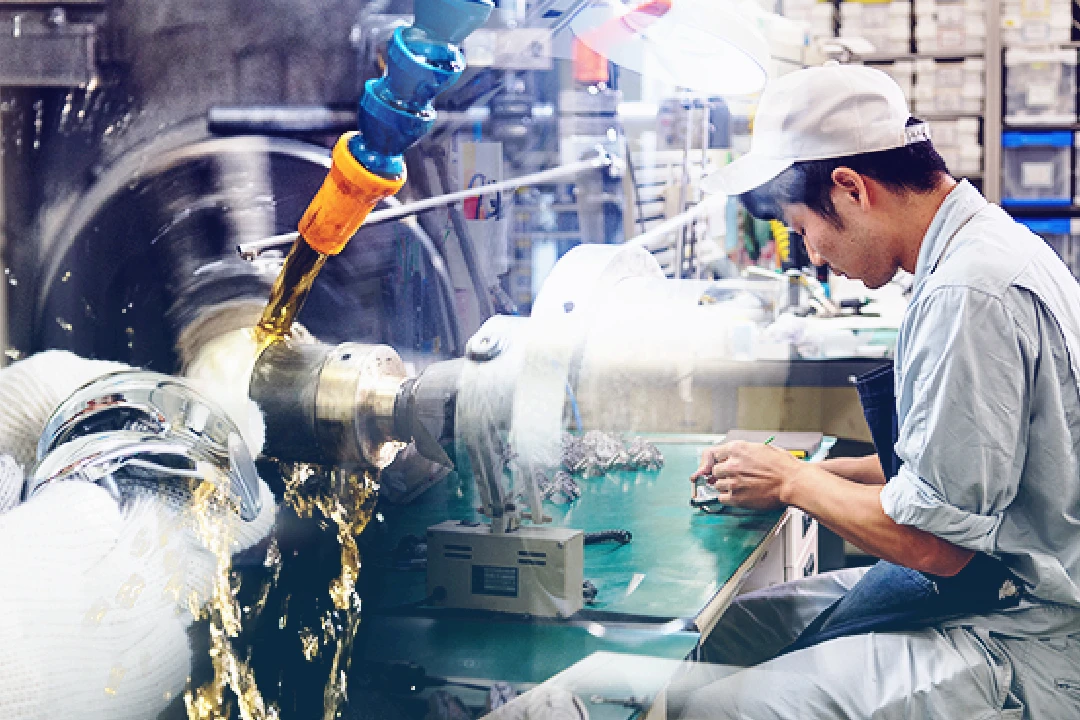
Kawasaki Heavy Industries is active in a broad variety of business fields and offers a range of innovative products. We spoke to them about how they came to use ACCRETECH products and their impressions thereof.
Sincerely considering the future of products and measuring equipment in order to satisfy greater needs
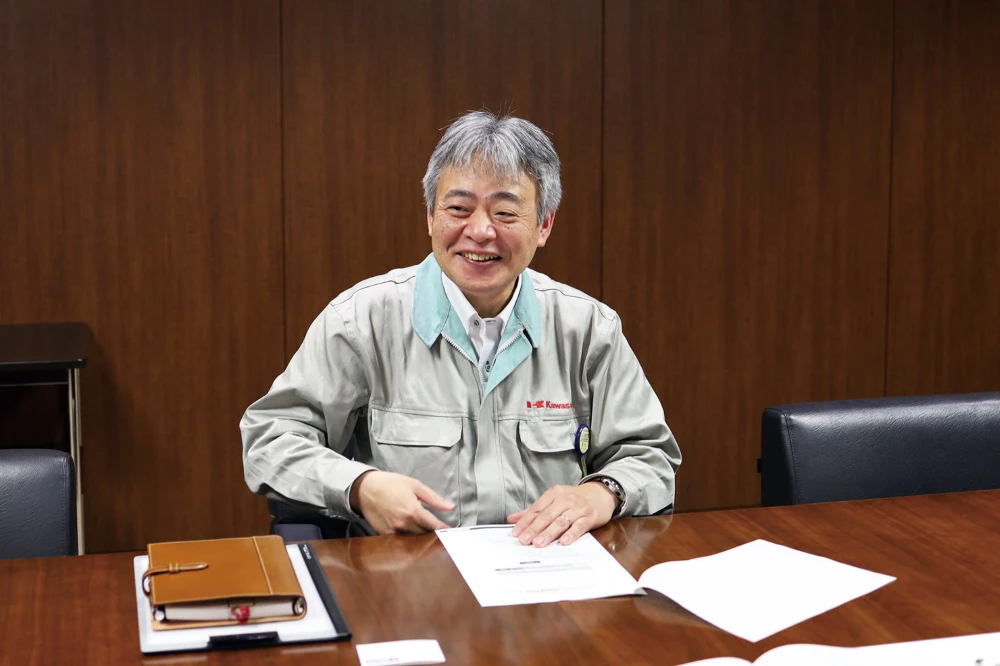
Kawasaki Heavy Industries, Ltd.
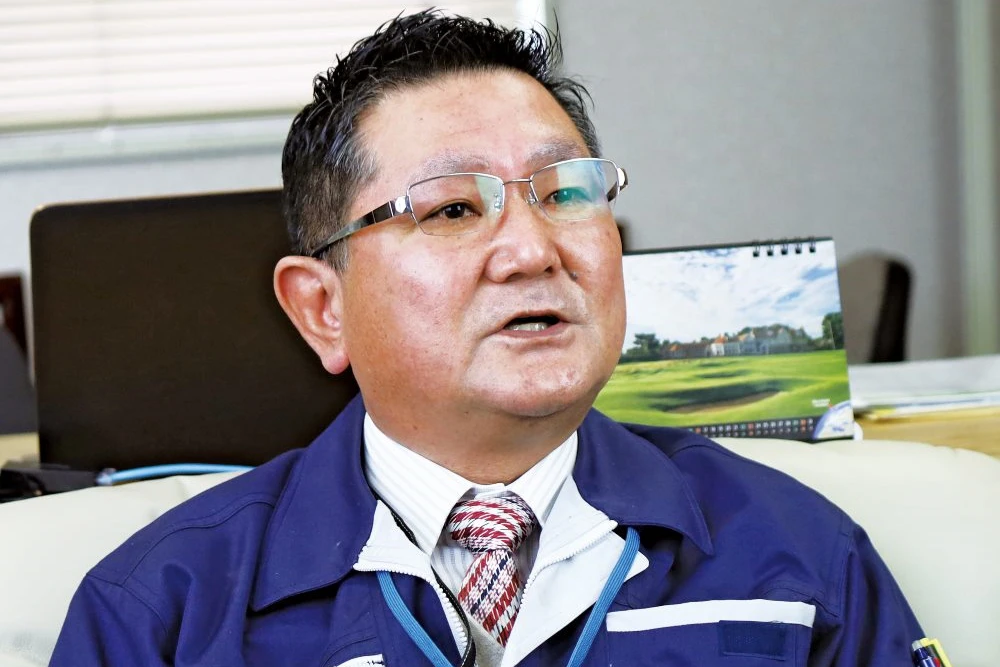
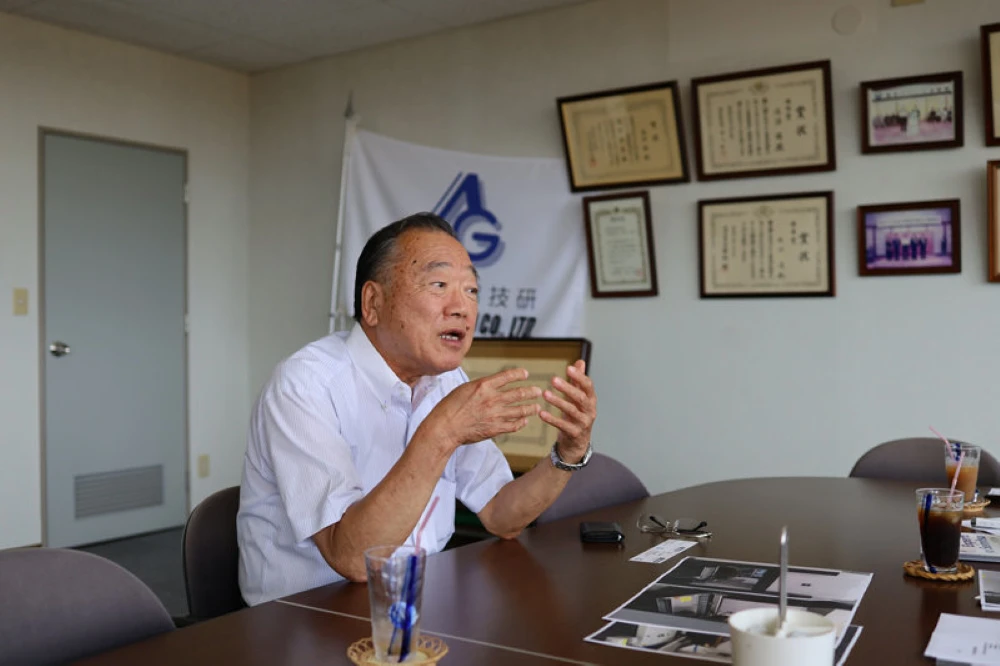
Yoshihiro Ichikawa, Supervisor Engine QA Engineering Section, Engine Quality Assurance Dept.
QM Promoting Division, Aerospace Systems Company Kawasaki Heavy Industries, Inc.
Kawasaki's origins date back to 1878, when the founder, Shozo Kawasaki, established Kawasaki Tsukiji Shipyard in Tsukiji, a district of Tokyo. Eighteen years later, in October 1896, the company was incorporated as Kawasaki Dockyard Co., Ltd. Today, the “Kawasaki” brand is renown across the globe for offering products in a vast range of business areas, including aerospace, where the company deals in not only aircraft and jet engines but also artificial satellites, as well as shipbuilding, rolling stock, energy and environment related systems, various industrial machinery such as hydraulic equipment and industrial robots, and leisure products such as motorcycles and jet skis ®.
Tokyo Head Office: 1-14-5, Kaigan, Minato-ku, Tokyo 105-8315, Japan
Kobe Head Office: Kobe Crystal Tower, 1-3, Higashikawasaki-cho 1-chome, Chuo-ku, Kobe, Hyogo 650-8680, Japan
Akashi Works: 1-1, Kawasaki-cho, Akashi, Hyogo 673-8666, Japan
Seishin Works: 8-1, Takatsukadai 2-chome, Nishi-ku, Kobe, Hyogo 651-2271, Japan
Please tell us about what you do, Mr. Ichikawa
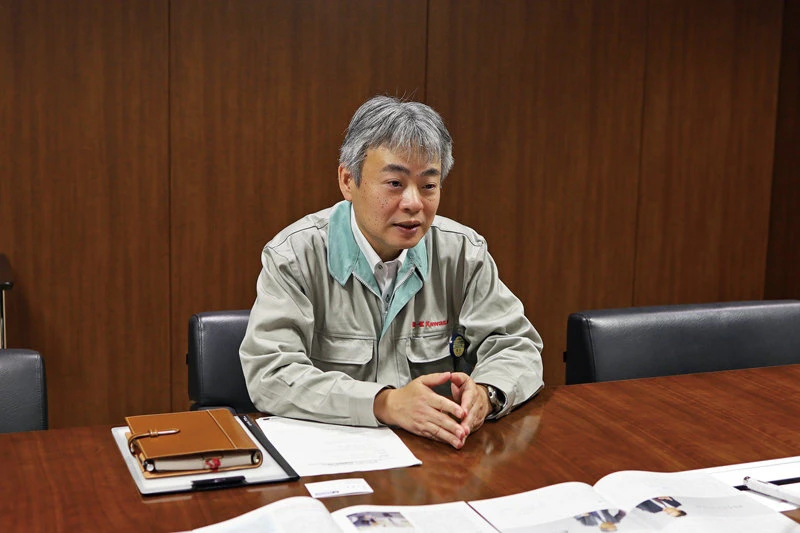
I belong to the QA Engineering Section. In order to make product inspections more reliable, we conduct verification and confirmation from a technical perspective for the sake of improving and streamlining our in-house inspection work and provide better explanations to customers. In addition, customers' demands toward quality have intensified significantly in recent years, and a part of my job is engaging in initiatives to satisfy such demands. This year, demand has eased up a little, but we are actually taking advantage of this as an opportunity to ramp up various initiatives aimed at achieving a higher quality level than what we currently maintain. In order to do so, measurement innovations will continue to be necessary, and we will definitely be turning to ACCRETECH for various technical consultations and considerations.
What led you to introduce ACCRETECH’s blisk measuring machine?
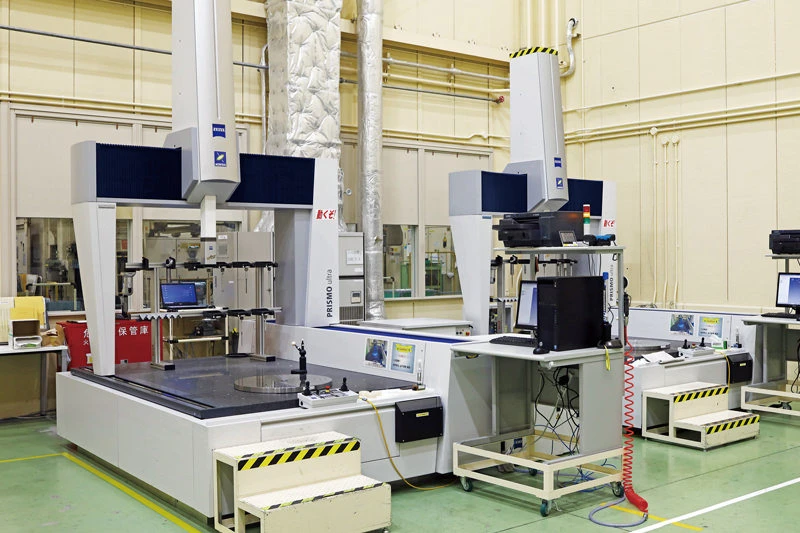
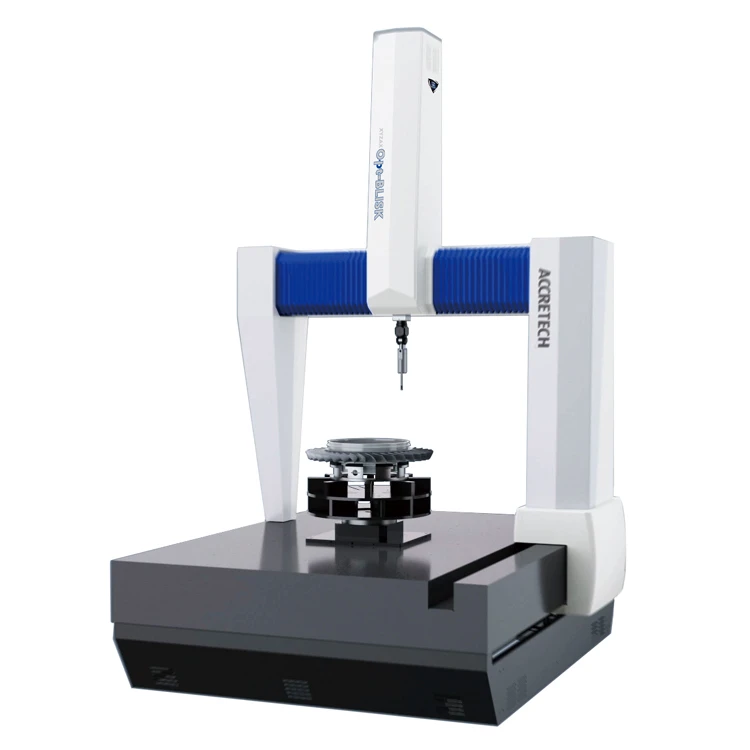
Of course, we place importance on technical aspects when selecting a CMM. This means we need to think not only about current functions but additional functions that will be required to satisfy the new needs we predict we will have in the future. At times like these, we want a partner that will work with us to create the machine we are looking for, and ACCRETECH is such a partner. Until now, blisk measurement has required an extremely high number of manhours to perform. We wanted to find a CMM that could halve manhours and have a smaller footprint while of course maintaining accuracy. For this reason, we considered a non-contact measuring machine, but no manufacturers offered a machine that could measure between blades. It was at that point ACCRETECH agreed to collaborate with us to develop a CMM that met our specific needs. It isn't easy to find a measuring equipment manufacturer in Japan willing to collaborate on developing a customized machine, so we were extremely grateful when ACCRETECH raised its hand to help us.
Now that you’ve actually introduced a blisk measuring machine to your operations, what are your impressions of it?
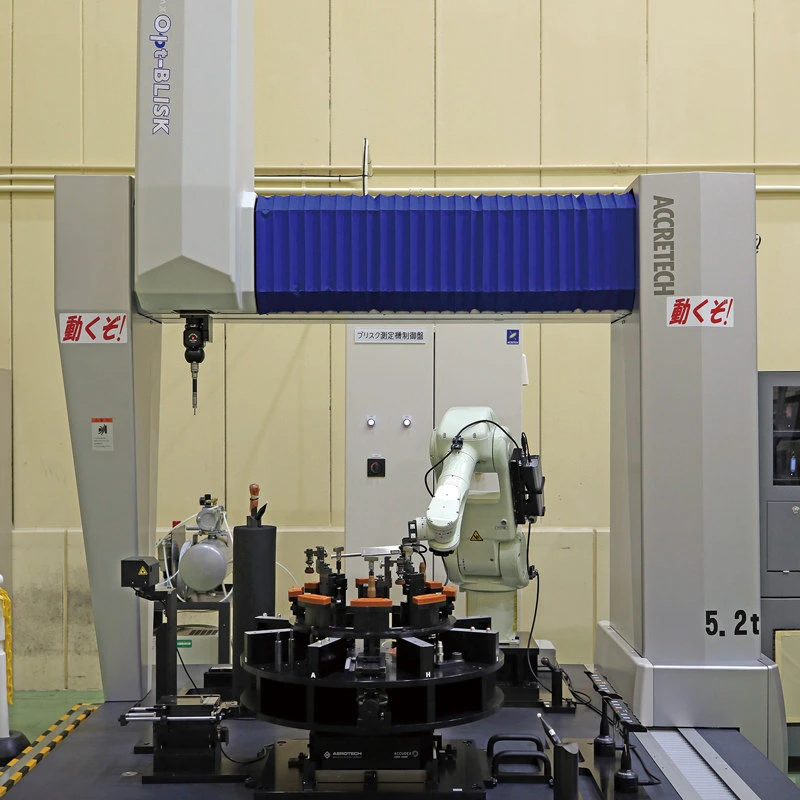
Before we installed the blisk measuring machine, we had expectations that it would give us measurement results with minimal variation. As such, it needed to have extremely precise sensors and be a highly accurate measuring machine itself as a solid foundation of measurements. We are happy that, after actually installing the machine, it has indeed given us measurement results with minimal variation, just as we expected. In addition, we have been pleasantly surprised with many other benefits. For example, the improved accuracy of the machine allows us to obtain measurement results with higher reliability, thus reducing the need for re-measurement. Another benefit is the ability to perform cause analysis with ease. In the past, we had to begin analysis by first identifying whether it was the measurement results that varied or the actual products themselves, but now thanks to high measurement accuracy and reliability, we don't have to worry about this process as much.
What kind of measuring equipment would you like to see in the future?
I think that the number of non-contact measuring machines will increase in the future. Currently, there are many measurement points that we are not good at measuring with contact type measuring machines, so we expect to be able to compensate these with a non-contact method. Unlike the contact type, the non-contact type can swiftly pick up measurement points at high speed even for minute circular portions. In that sense, the machine could also be described as a profile measuring instruments due to the ability to also evaluate such portions based on all the data taken without having to specifically aim for the portion we want it to measure. Currently, in order to measure those portions where CMMs do not excel on a profile measuring instruments, we must make a mold as a replica of the product, take it to the profile measuring instruments, have it measured by the inspection staff, and then output the data – in other words, the current process is extremely labor-intensive for inspection staff. However, if it was possible to measure such portions on a CMM using a non-contact method, manhours would be significantly reduced. If profile measurement can be performed in a non-contact way on a CMM, the whole product could be measured and evaluated within one program. I would love to see a machine like that be developed.
Do you have any further expectations of Accretech?
In recent years, securing personnel has also become a very important issue. Furthermore, it isn't merely a matter of securing personnel but also establishing a training period to nurture their capabilities as inspection staff. However, this is actually quite a challenging task. Which ultimately means, there is a need to automate as much as possible. Therefore, I would like ACCRETECH to provide not only individual measuring machines but also various overall systems, including the setup before and after the measuring process itself. I hope Kawasaki Heavy Industries and ACCRETECH can work together to build such equipment, just as we did with our latest blisk measuring machine.
Tokyo Seimitsu’s thoughts after speaking
Mr. Ichikawa said he wants his company to reform in order to respond to rapidly changing trends without being afraid of change itself. We were impressed by the company's mindset of tirelessly thinking and acting to translate global predicaments into opportunities – a mindset which has clearly propelled Kawasaki forward into the global company it is today. Moving forward, ACCRETECH will also further evolve so that we may continue supporting Kawasaki Heavy Industries to create amazing products and offer them to the world. We hope to develop service systems and offer products that will help Koganei Seiki as they develop their business further into the automotive, aircraft, and reusable energy industries.
Products

